Home Assistant app
You can run the full camera.ui server inside Home Assistant OS as an app. There are two apps in the repository: camera.ui, the full server with its own panel in the Home Assistant sidebar, and camera.ui Worker, a helper that lends this machine's compute to a camera.ui server running elsewhere. Both are supported on amd64 and aarch64 hosts.
Install
- In Home Assistant, open Settings → Apps → App Store.
- From the store's menu (top right), choose Repositories and add
https://github.com/cameraui/homeassistant-apps. - Find camera.ui in the store and click Install.
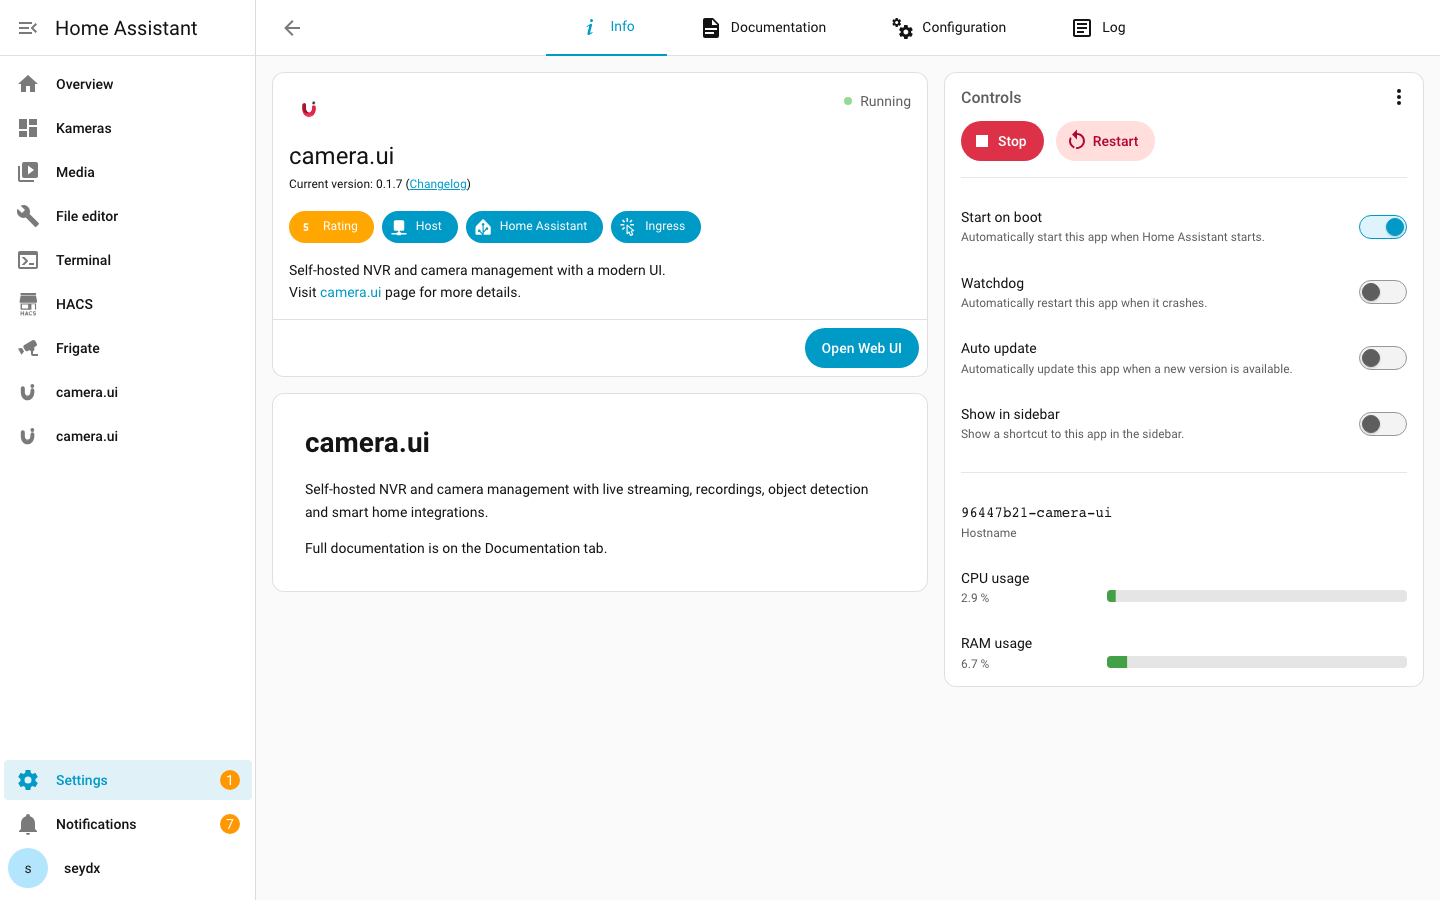
The camera.ui app
The camera.ui app runs the complete server: the UI, the streaming engine, the NVR, and any plugins you install. It runs on the host network, which it needs for WebRTC live view, HomeKit pairing, and camera discovery.
Once started, the app adds a camera.ui entry to the Home Assistant sidebar. That panel, and the app's Open Web UI button, both open the interface through Home Assistant's ingress proxy, so there is no separate login and no certificate warning.[1]
On first start the app downloads the camera.ui server and the default plugin, which needs an internet connection and takes a few minutes.[2] Follow the first boot in the app's Log tab.
Options
- default_plugins. Comma-separated plugins installed on first boot. Defaults to
@camera.ui/camera-ui-nvr, the NVR plugin. - recordings_path. Where the NVR plugin writes recordings. Defaults to
/media/camera.ui. Paths under/mediashow up in the Home Assistant media browser. - internal_avahi. Runs the app's own mDNS stack for HomeKit pairing and camera discovery. On by default. Turn it off to use the host's mDNS instead.
Hardware acceleration
The app passes GPU, AI accelerator, and codec devices through to the container.
- Intel / AMD (VA-API). VA-API drivers ship on
amd64only, covering Intel Quick Sync and AMD Mesa VA-API decoding.aarch64hosts do not get VA-API. - Coral Edge TPU. The Coral runtime is included for both architectures. USB Coral works through the app's USB access; PCIe Coral uses the passed-through
/dev/apex_*devices. - Hailo. The Hailo device (
/dev/hailo0) is passed through, but the Hailo runtime is not part of the image.[3] - NVIDIA. Not available in the Home Assistant app. Use Docker on a plain Linux host for an NVIDIA setup.
The Hardware acceleration page explains how the streaming engine picks a device and how to check that it works.
Recordings and the media browser
The /media directory is mapped into the app with read-write access. With the default recordings_path of /media/camera.ui, recordings written by the NVR appear in Home Assistant's Media browser.
Backups and updates
Home Assistant backs up the app's /data directory, which holds your configuration, database, and TLS certificates. Three subtrees are excluded from backups: the downloaded server, the Python environment, and installed plugins. These are re-downloaded on restore, so restoring a backup needs an internet connection, the same as a first start.
The server updates itself from within the app, so day-to-day updates do not need a new app image. Update the app itself when a new version is published to refresh the base image (OS, drivers, and launcher).
Leave the supervisor's Watchdog toggle on for the app so Home Assistant restarts it if it stops unexpectedly.[4]
Worker app
The camera.ui Worker app turns this Home Assistant machine into a worker for a camera.ui server (the master) running somewhere else. It lends this machine's CPU, GPU, and Coral to the master for decoding, detection, and plugins. It has no UI and no sidebar panel of its own and connects out to the master. It passes through the same hardware as the full app.
Set it up on the master first, then here:
- On the master, enable workers and set the master address, then generate a one-time pairing code. Generating a code and pairing both fail unless workers are enabled there. See Workers.
- Install the camera.ui Worker app on this machine.
- Set master_address to the master's IP or hostname and pairing_code to the code you just generated.
- Start the app. It exchanges the code for its own credentials on first connect and reconnects on its own afterwards, so the code is entered only once.
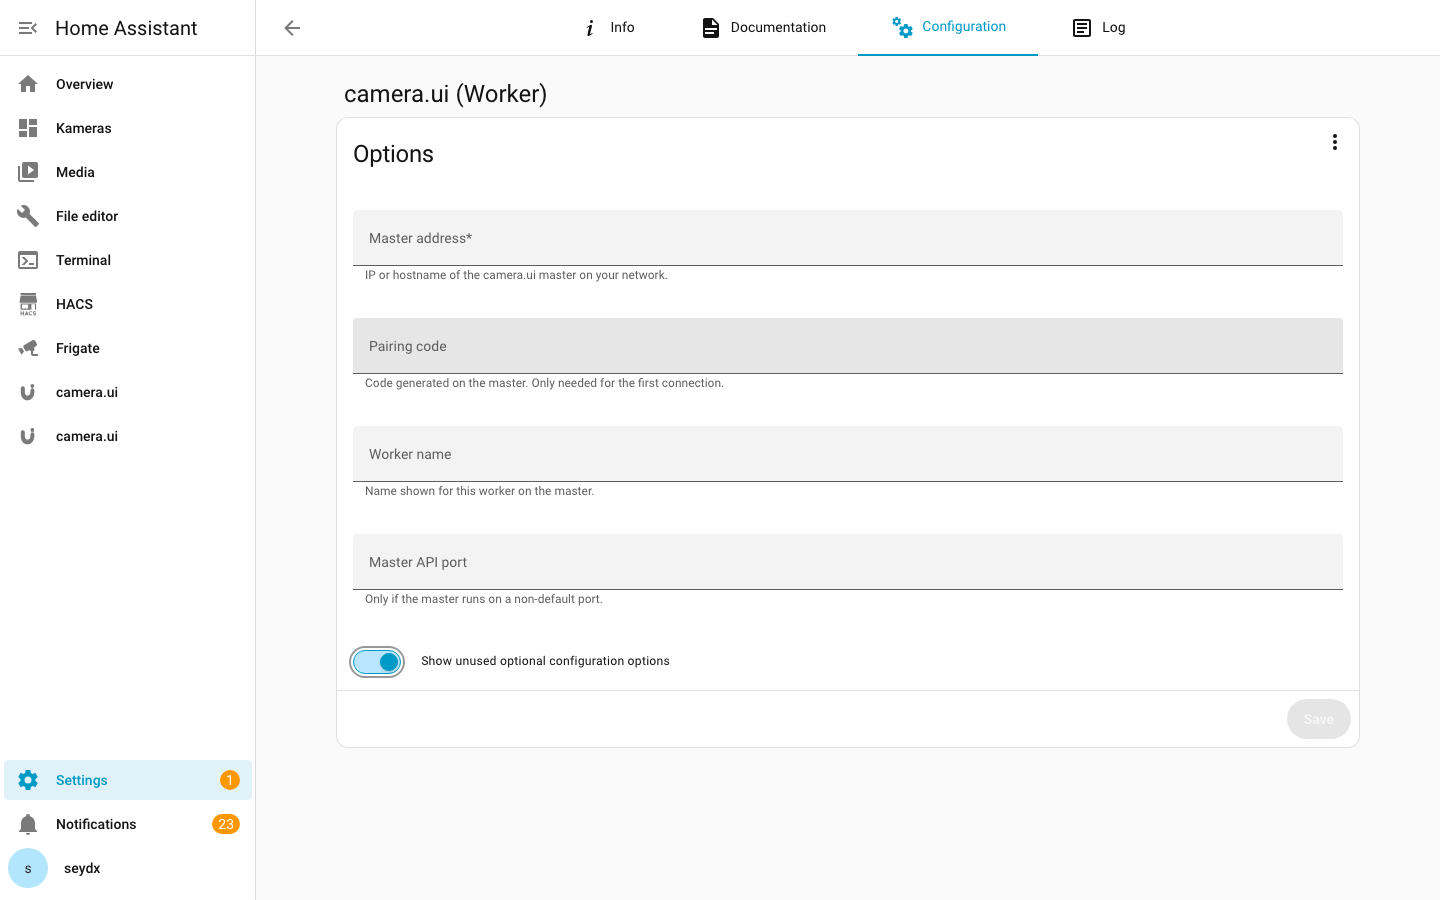
- master_address. IP or hostname of the camera.ui master. Required.
- pairing_code. The one-time code generated on the master. Required for the first connection. A code is valid for 15 minutes and can be used once.
- worker_name. Name shown for this worker on the master. Optional. Defaults to
worker. - master_api_port. The master's HTTPS API port. Optional. Defaults to
3443.
Next steps
- Hardware acceleration — how the streaming engine uses your GPU and accelerators, and how to verify it.
- Workers — the full picture of masters, workers, and camera assignments.
- Docker — run the server outside Home Assistant, including NVIDIA setups.
The app also listens on
https://<host>:3443directly over the host network. Reaching it that way shows a self-signed certificate warning once. ↩︎If first boot fails to fetch the server, check that the host can reach the internet and resolve DNS. ↩︎
Install the Hailo plugin to add the runtime. The app image itself only passes the device through. ↩︎
Watchdog is a Home Assistant setting on the app's info page, not a camera.ui option. ↩︎