
Home Assistant
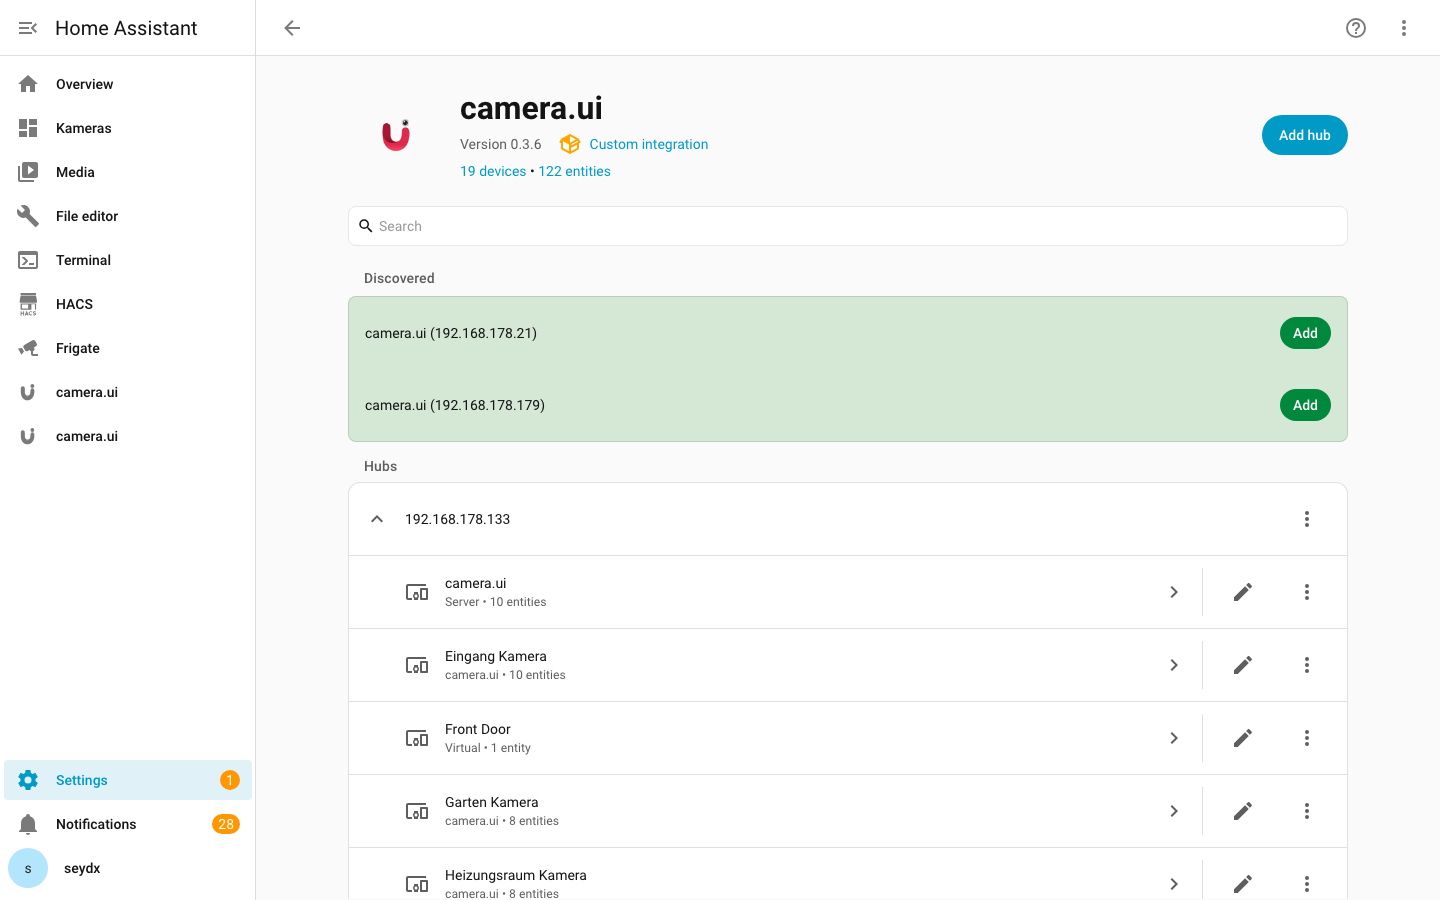
camera.ui and Home Assistant meet in two independent ways: the app runs camera.ui inside Home Assistant, the integration connects a camera.ui server to Home Assistant and surfaces its cameras and sensors as HA entities. Use either or both.
Running vs connecting
- The app runs camera.ui. It installs the camera.ui server as a Home Assistant OS app, so your cameras, recordings, and detection live on the same box as HA.
- The integration connects camera.ui. It talks to a camera.ui server (the app, or a Docker/desktop install anywhere on your network) and creates one HA device per camera with live streams, sensors, and PTZ.
The app alone creates no entities: add the integration as well. If camera.ui already runs elsewhere, you only need the integration.
Getting entities in: pick one transport
Two independent transports bring camera.ui cameras and sensors into Home Assistant:
- The integration (recommended). A custom component that pushes entities to HA over a local connection. No broker needed.
- MQTT discovery. An opt-in on the camera.ui server's MQTT bridge that publishes Home Assistant discovery configs to your broker.
Do not run both
The two do not merge: running both leaves you with two copies of every camera, device and sensor. Use the integration unless you specifically want to route camera.ui through an existing MQTT broker.
The integration
Live camera changes arrive by push, and it re-checks the camera list once a minute as a backstop.
You get, per camera:
- A live camera entity with streaming. Snapshots and the live source (high, mid, or low RTSP) come straight from camera.ui.
- Motion and object-detection sensors. Object sensors cover the labels person, vehicle, animal, and package.
- Sensors across the
binary_sensor,sensor,switch,light,siren,lock,cover, andalarm_control_paneldomains. Switches, lights, sirens, locks, covers, and alarm panels are controllable from Home Assistant; contact and measurement sensors are read-only. - A PTZ service,
cameraui.ptz, for continuous, stop, move, absolute, preset, and home actions.
On top of that, the integration registers its dashboard cards, embeds the full camera.ui web UI as a sidebar panel, and fires a cameraui_event on the HA event bus for every detection, with device triggers wired up for the automation editor. Setup can start from zeroconf: camera.ui advertises itself over mDNS, so host and port are pre-filled and you only enter an access token.
See Integration for the full setup.
MQTT discovery
For setups that already run an MQTT broker. It needs no custom component and no HACS: the camera.ui server publishes retained discovery configs, and Home Assistant's built-in MQTT integration picks them up.
You turn it on in the camera.ui server's MQTT settings (enable HA discovery). You get status, motion, and object binary sensors, a snapshot camera image, and the same controllable sensor domains as the integration. What you do not get: a live stream (snapshot only), the PTZ service, the sidebar panel, the auto-registered cards, or the cameraui_event bus events. In return it adds a dedicated per-camera connectivity sensor.
MQTT discovery is documented with the rest of the broker settings on the MQTT admin page.
Integration vs MQTT discovery
| Integration | MQTT discovery | |
|---|---|---|
| Needs an MQTT broker | No | Yes |
| Custom component / HACS | Required | Not needed |
| Live camera stream | Yes | Snapshot only |
| Motion & object sensors | Yes | Yes |
| Controllable sensors | Yes | Yes |
| PTZ service | Yes | No |
| Per-camera connectivity sensor | No separate one | Yes |
| Embedded web UI panel | Yes | No |
| Dashboard cards auto-registered | Yes | No |
cameraui_event + device triggers | Yes | No |
| Discovery | zeroconf (mDNS) | over MQTT |
Bringing Home Assistant sensors in
The integration and MQTT both send camera.ui out to Home Assistant. The Home Assistant plugin goes the other way: it imports Home Assistant's own sensors and controls into camera.ui, where you can assign them to cameras and use them as detection triggers. It does not clash with either transport.
See Import from Home Assistant for setup.
The dashboard cards
Three cards put a camera, a camview view or the recent events on your dashboards, and a click opens the camera.ui dialog with the timeline. The integration registers them.
See Dashboard cards for the options.
Next steps
- App — run the camera.ui server inside Home Assistant OS.
- Integration — connect a camera.ui server and get cameras, sensors, and PTZ as HA entities.
- Dashboard cards — put cameras, a view or recent events on your dashboard.
- Import from Home Assistant — bring Home Assistant's own sensors and controls into camera.ui.