
Virtual sensors
A virtual sensor is a sensor with no plugin behind it. You create it yourself, camera.ui holds its state, and you set that state from the UI or from an automation.
Typical uses: a doorbell you trigger from an automation, a contact you flip when an MQTT message arrives, a switch for something no plugin reports. Otherwise it behaves like any other sensor: assign it to cameras, place it on the video as a shortcut, export it to your smart home, use it as an automation trigger.
Creating, renaming, and deleting virtual sensors needs admin.
Create a virtual sensor
Create virtual sensor on the Sensors page asks for:
- Type. What the sensor represents. Can't be changed later.
- Name. How the sensor appears in camera.ui, for example "Front Door". Two virtual sensors of the same type can't share a name.
The sensor starts in its idle state: off, closed, locked, or disarmed, depending on the type. It belongs to no camera until you assign cameras from its row; it then shows up in their Overview.[1]
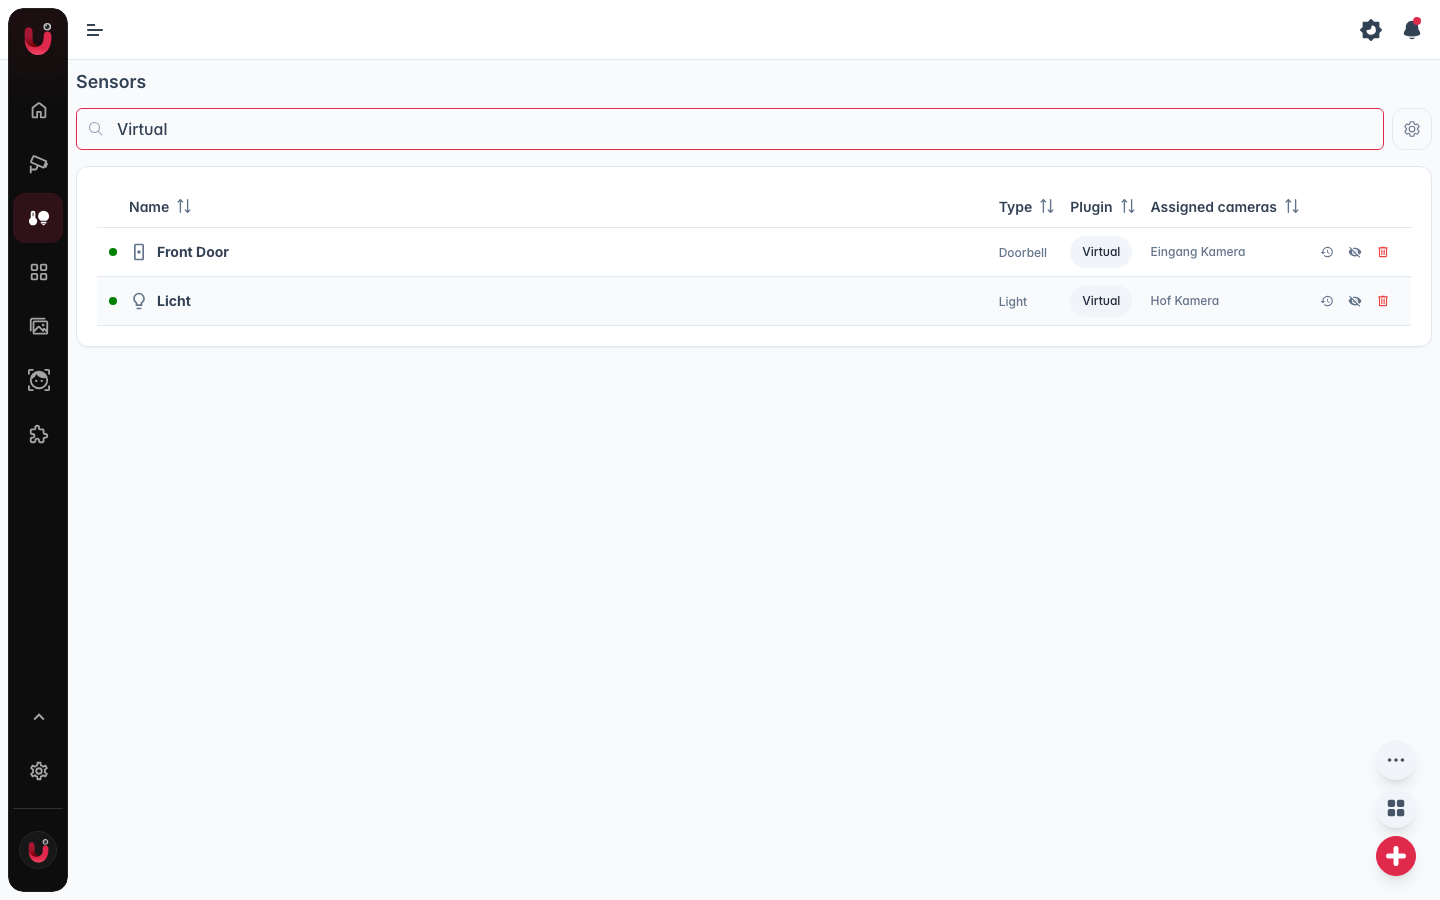
Available types
There are 23 types:
- Doorbell. A ring you trigger. It resets itself two seconds later.
- Switch. On or off.
- Contact. Open or closed, for a door or window.
- Occupancy. Occupied or empty.
- Smoke. Clear or triggered.
- Leak. Clear or triggered.
- Light. On or off, with brightness.
- Siren. On or off, with volume.
- Lock. Locked or unlocked.
- Garage. Open or closed.
- Security System. Off, Home, Away, or Night.
- Temperature. A temperature reading.
- Humidity. A humidity reading.
- Gas. Clear or triggered.
- Carbon Monoxide. Clear or triggered.
- Heat. Clear or triggered.
- Cold. Clear or triggered.
- Vibration. Clear or triggered.
- Tamper. Clear or triggered.
- Problem. Clear or triggered.
- Power. Clear or triggered.
- Illuminance. A light-level reading in lux.
- CO₂. A carbon dioxide reading in ppm.
Control it
Doorbell, Switch, Light, Siren, Lock, Garage and Security System get the same controls as plugin-provided ones (see Controls & states): on an assigned camera's Overview tab, and in the sensor's edit dialog on the Sensors page, which also covers sensors assigned to no camera.
Contact, Occupancy, Smoke, Leak, Temperature, Humidity, Gas, Carbon Monoxide, Heat, Cold, Vibration, Tamper, Problem, Power, Illuminance, and CO₂ are read-only. Their value comes from an automation.
Lock, Garage and Security System switch immediately, with no "locking" or "opening" state in between.
The last state survives a restart.
Control it from an automation
In the automation editor, a Control sensor action sets a virtual sensor, and a Sensor change trigger reacts when its state changes. For the read-only types this is the only way to set a value: an automation that receives an MQTT message, for example, can put that value on a virtual temperature sensor.
Rename or delete
On the Sensors page: click the row to rename, use the row's delete button to remove.[2]
A new name applies everywhere (Overview, shortcuts, automations), and automations using the sensor keep working.
Deleting a camera only removes the assignment. The sensor itself stays and can be assigned to other cameras. ↩︎
Deleting a virtual sensor stops any automation that references it. Creating a new sensor with the same type and name does not restore the link, since it is a new sensor. Point the automation at it again. ↩︎