
Apple TV
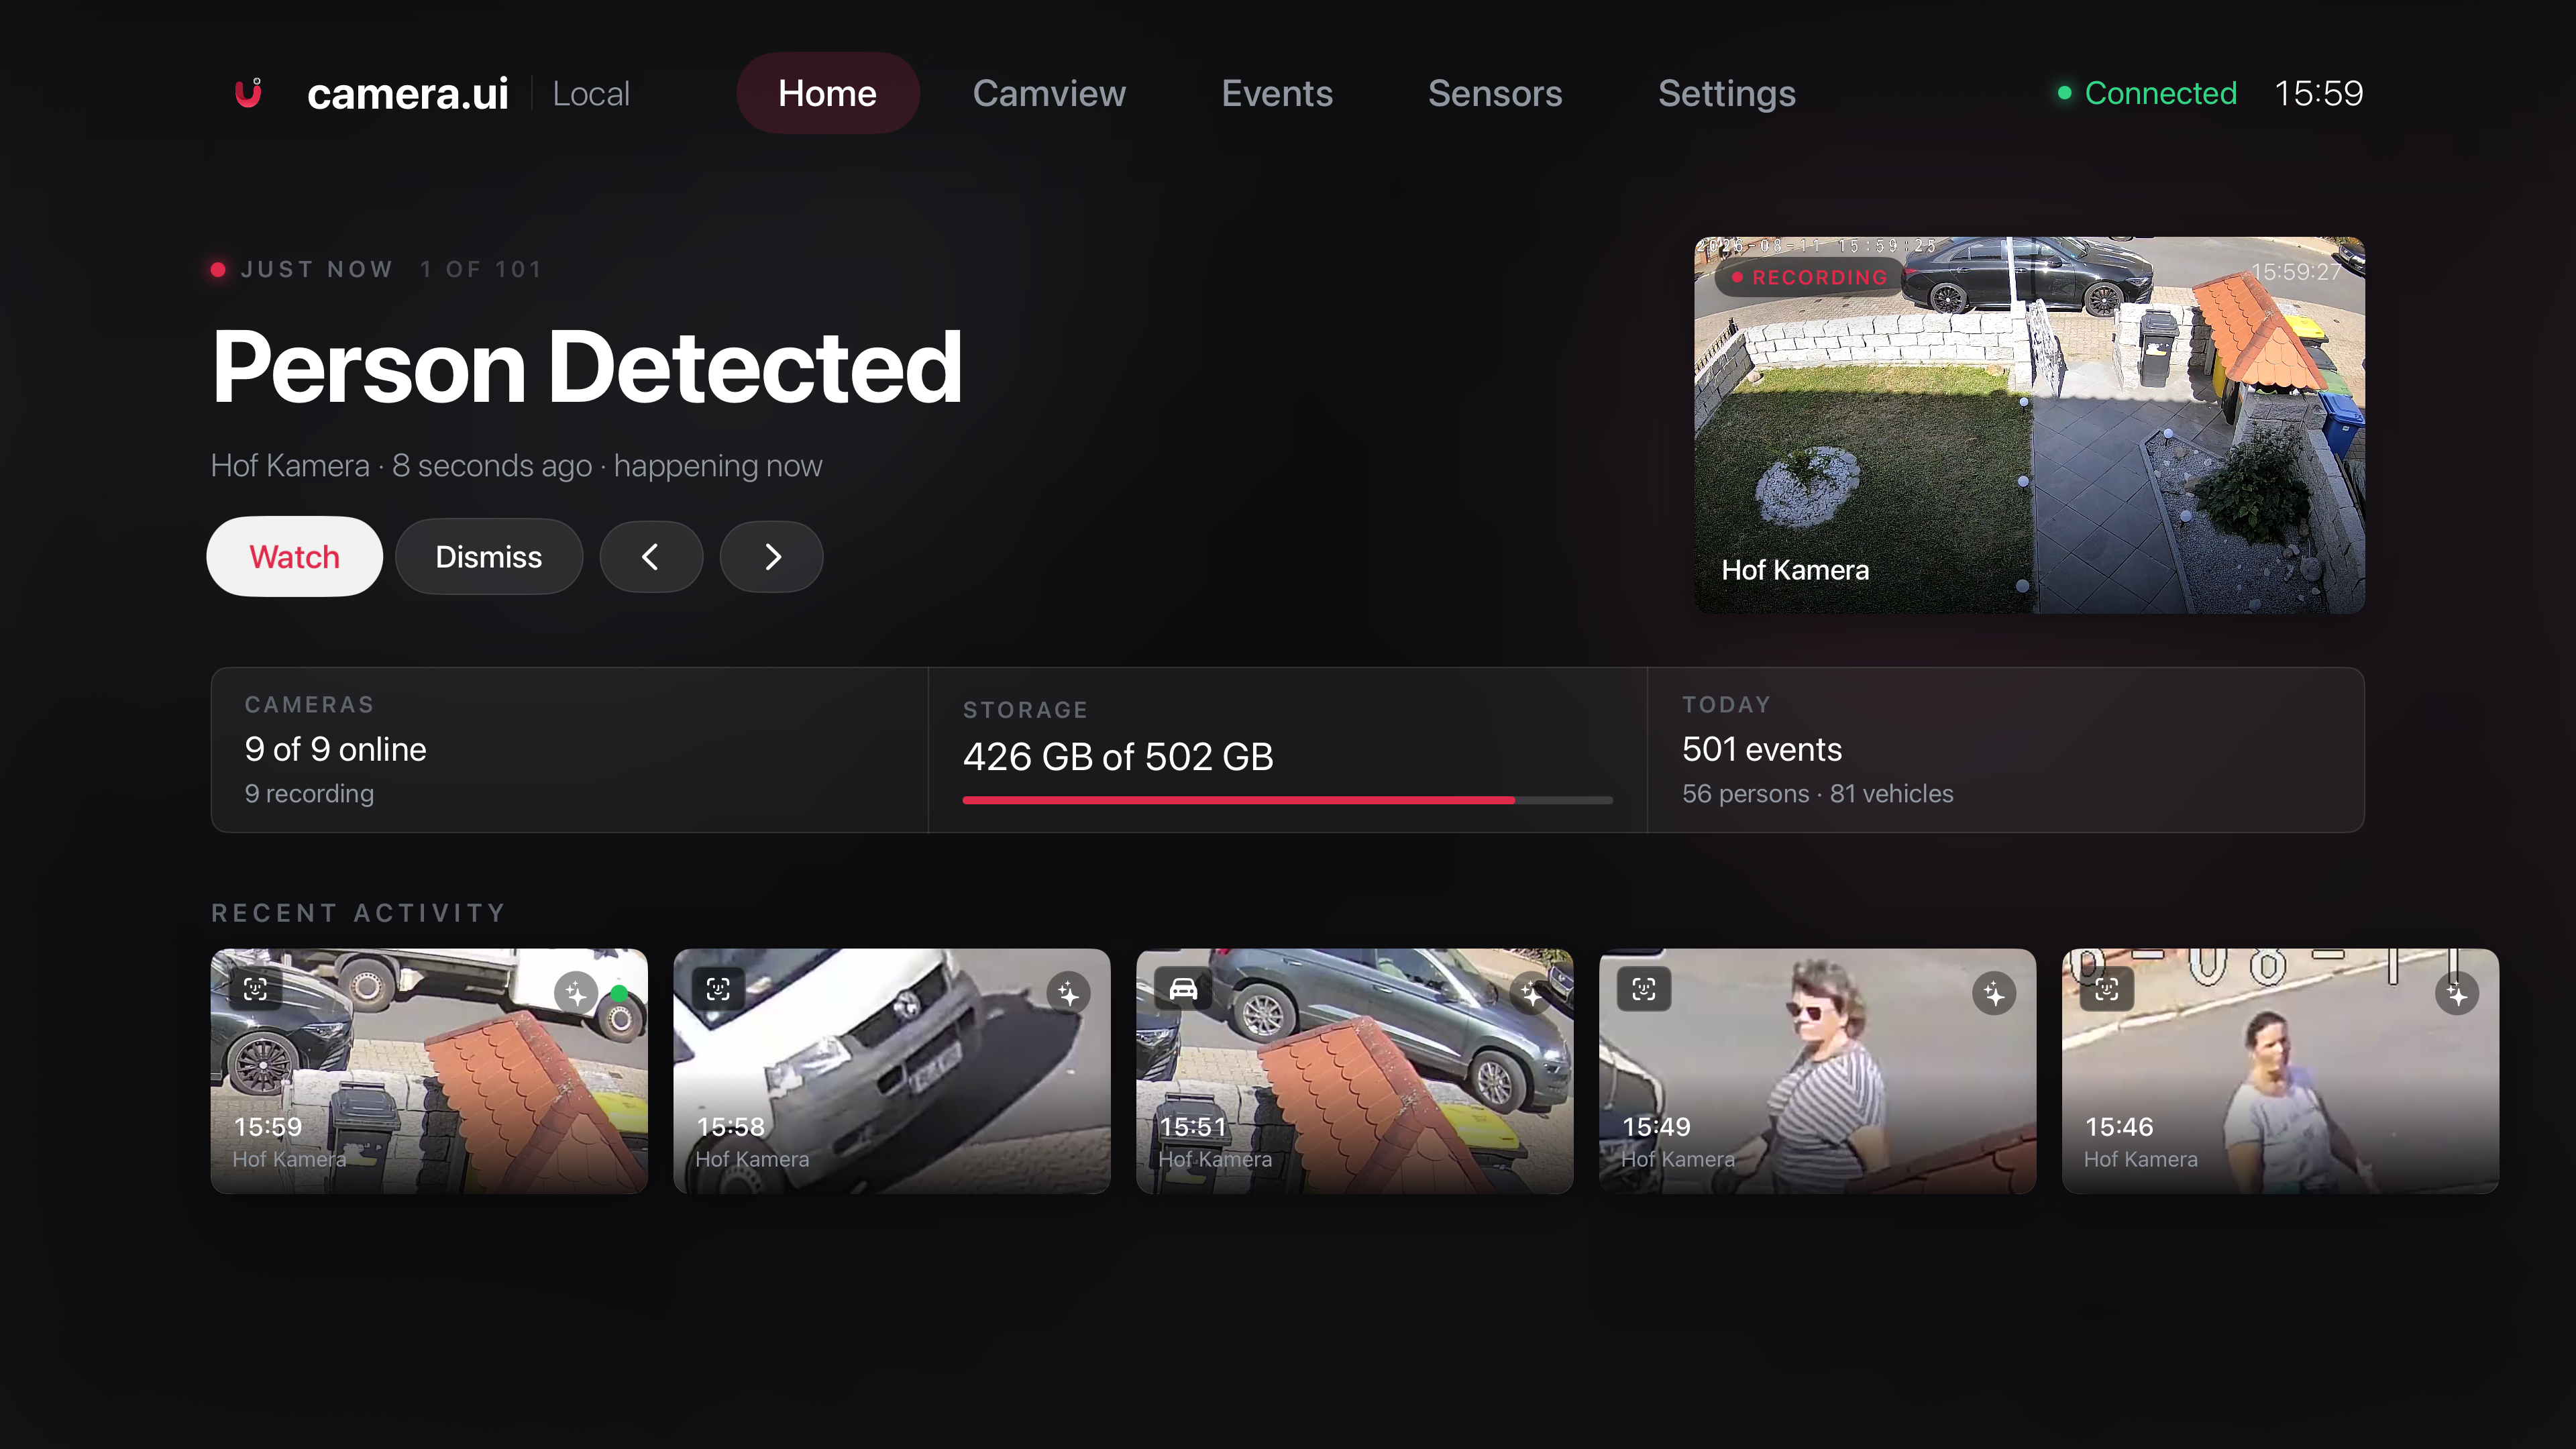
The Apple TV app puts your cameras on the big screen: a live wall, your events with playback, and your sensors.[1] It connects to a server running elsewhere (the desktop app or a server install).
Download
Currently in beta. Join through TestFlight: install Apple's TestFlight app on your Apple TV, then open the invite.[2]
| Platform | Requirement |
|---|---|
| Apple TV | tvOS 17 or newer |
Connecting to your server
The app connects straight to your server, not through camera.ui Cloud.
On the same network the app lists your server by itself. You can also add one by address:
- On your network. Enter the server's local address, for example
https://192.168.1.20:3443. - From anywhere. Enter your own public address, set up with a custom domain and a reverse proxy.
Sign in with your username and password, plus a two-factor code if you use one, or paste an API token.[3]
You can add several servers and switch between them under Settings → Switch server. With a single server the app opens it right away. With several it starts on the server picker, unless Open at launch in one server's settings is set to This server.
Around the app
- Home. The latest activity up top, plus camera and storage status and today's event count. Selecting a notification opens its recording. Recent activity follows the Recent Events filter of your account.
- Camview. A live wall of your cameras. Grid or mixed layout, rearrangeable tiles, fullscreen per camera. Fill wall drops the borders and fills the screen, Whole picture letterboxes each camera in its tile instead of cropping it. Both are remembered per view.
- Events. Your events grouped by day, with filters for persons, faces, vehicles, animals, doorbell, sensors, sounds, and motion. Selecting one plays it back from that moment.
- Episodes. Episodes show up as mosaic cards among your events and on the Home screen. Opening one plays the whole story and switches cameras by itself. Left and right jump between cameras.
- Talk back. In the fullscreen player, the microphone button speaks through the camera, if the camera supports two-way audio.
- PTZ. A camera that can pan, tilt or zoom gets a move button in the player. Hold a direction to keep moving, a short press nudges. Home position and presets appear when the camera has them. Admin accounts only. See PTZ & autotrack.
Playback follows each camera's playback source, episodes included. On Auto a gap in the high recording plays the next quality that has footage, the same as in the web interface.
Sensors
The Sensors page lays out every sensor as a tile, grouped by type, with its current state.[4] Switching them takes an admin account, other accounts see the states only.
- Click to toggle. Lights, switches, sirens, locks and garages flip on select.
- Hold for more. Holding select, or pressing play/pause, opens brightness, volume, alarm modes, or lock and garage controls.
- Live. Sensors and states update as they change on the server.
Updates
During the beta the app updates through TestFlight.
If the server or its recording plugin is older than the app needs, the app shows an Update needed screen naming what to update. Update it on the server, then reopen the app.
An active camera.ui subscription covers recording (NVR) and the features built on it, such as playback. Live view is free. ↩︎
The app moves to the App Store with the public release. ↩︎
Create an API token in camera.ui under Settings, Account, API tokens. ↩︎
These are the same sensors as the web Sensors page. Detection sensors tied to a single camera stay hidden here. ↩︎