
Home Assistant integration
The camera.ui integration connects an existing camera.ui server to Home Assistant. Your cameras, their sensors, motion and object detection, PTZ controls and the full camera.ui interface all show up inside Home Assistant.
It talks to the server directly over your local network, and events arrive by push. No MQTT broker or cloud service is involved. The integration's domain is cameraui. To run camera.ui itself inside Home Assistant OS, see the App page.
Install
The integration is distributed through HACS as a custom repository.
- In HACS, add
cameraui/homeassistant-integrationas a custom Integration repository. - Install camera.ui from HACS.
- Restart Home Assistant.
Connecting
Discovery
camera.ui advertises itself on the local network over mDNS (_camera-ui._tcp.local.). When Home Assistant sees it, a camera.ui found card appears under Settings → Devices & services. Open it and enter your API token; the host and port are filled in from discovery.
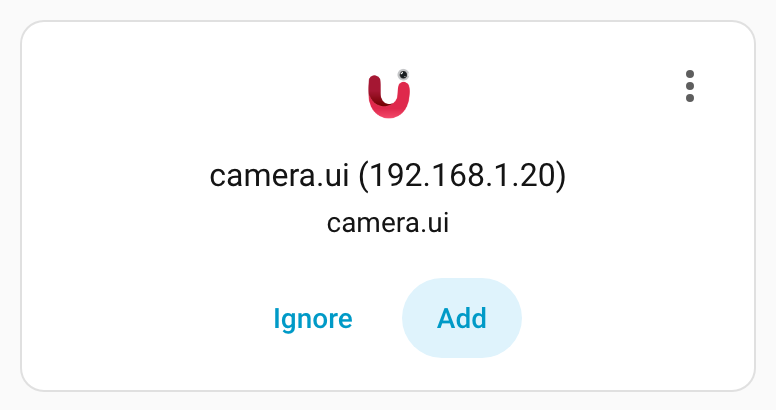
Manual setup
If discovery doesn't reach the server (a different subnet, for example), add it by hand:
- Go to Settings → Devices & services → Add integration and search for camera.ui.
- Enter the Host, Port (default
3443) and your API token.
API token
Both paths need an API token. Create one in camera.ui under Settings → Account → API tokens.
Use a token from an admin account. Controlling camera.ui sensors from Home Assistant (locks, covers, lights, sirens, alarm panels, PTZ) needs admin rights; with a viewer token the entities show up but their controls are rejected.
Setup checks the token against the server: a rejected token gives an authentication error, an unreachable server a connection error.[1]
What you get
The integration creates one Home Assistant device per camera and keeps the list in sync. It re-reads the camera list every 60 seconds, and a camera you remove in camera.ui is removed from Home Assistant automatically.
Cameras
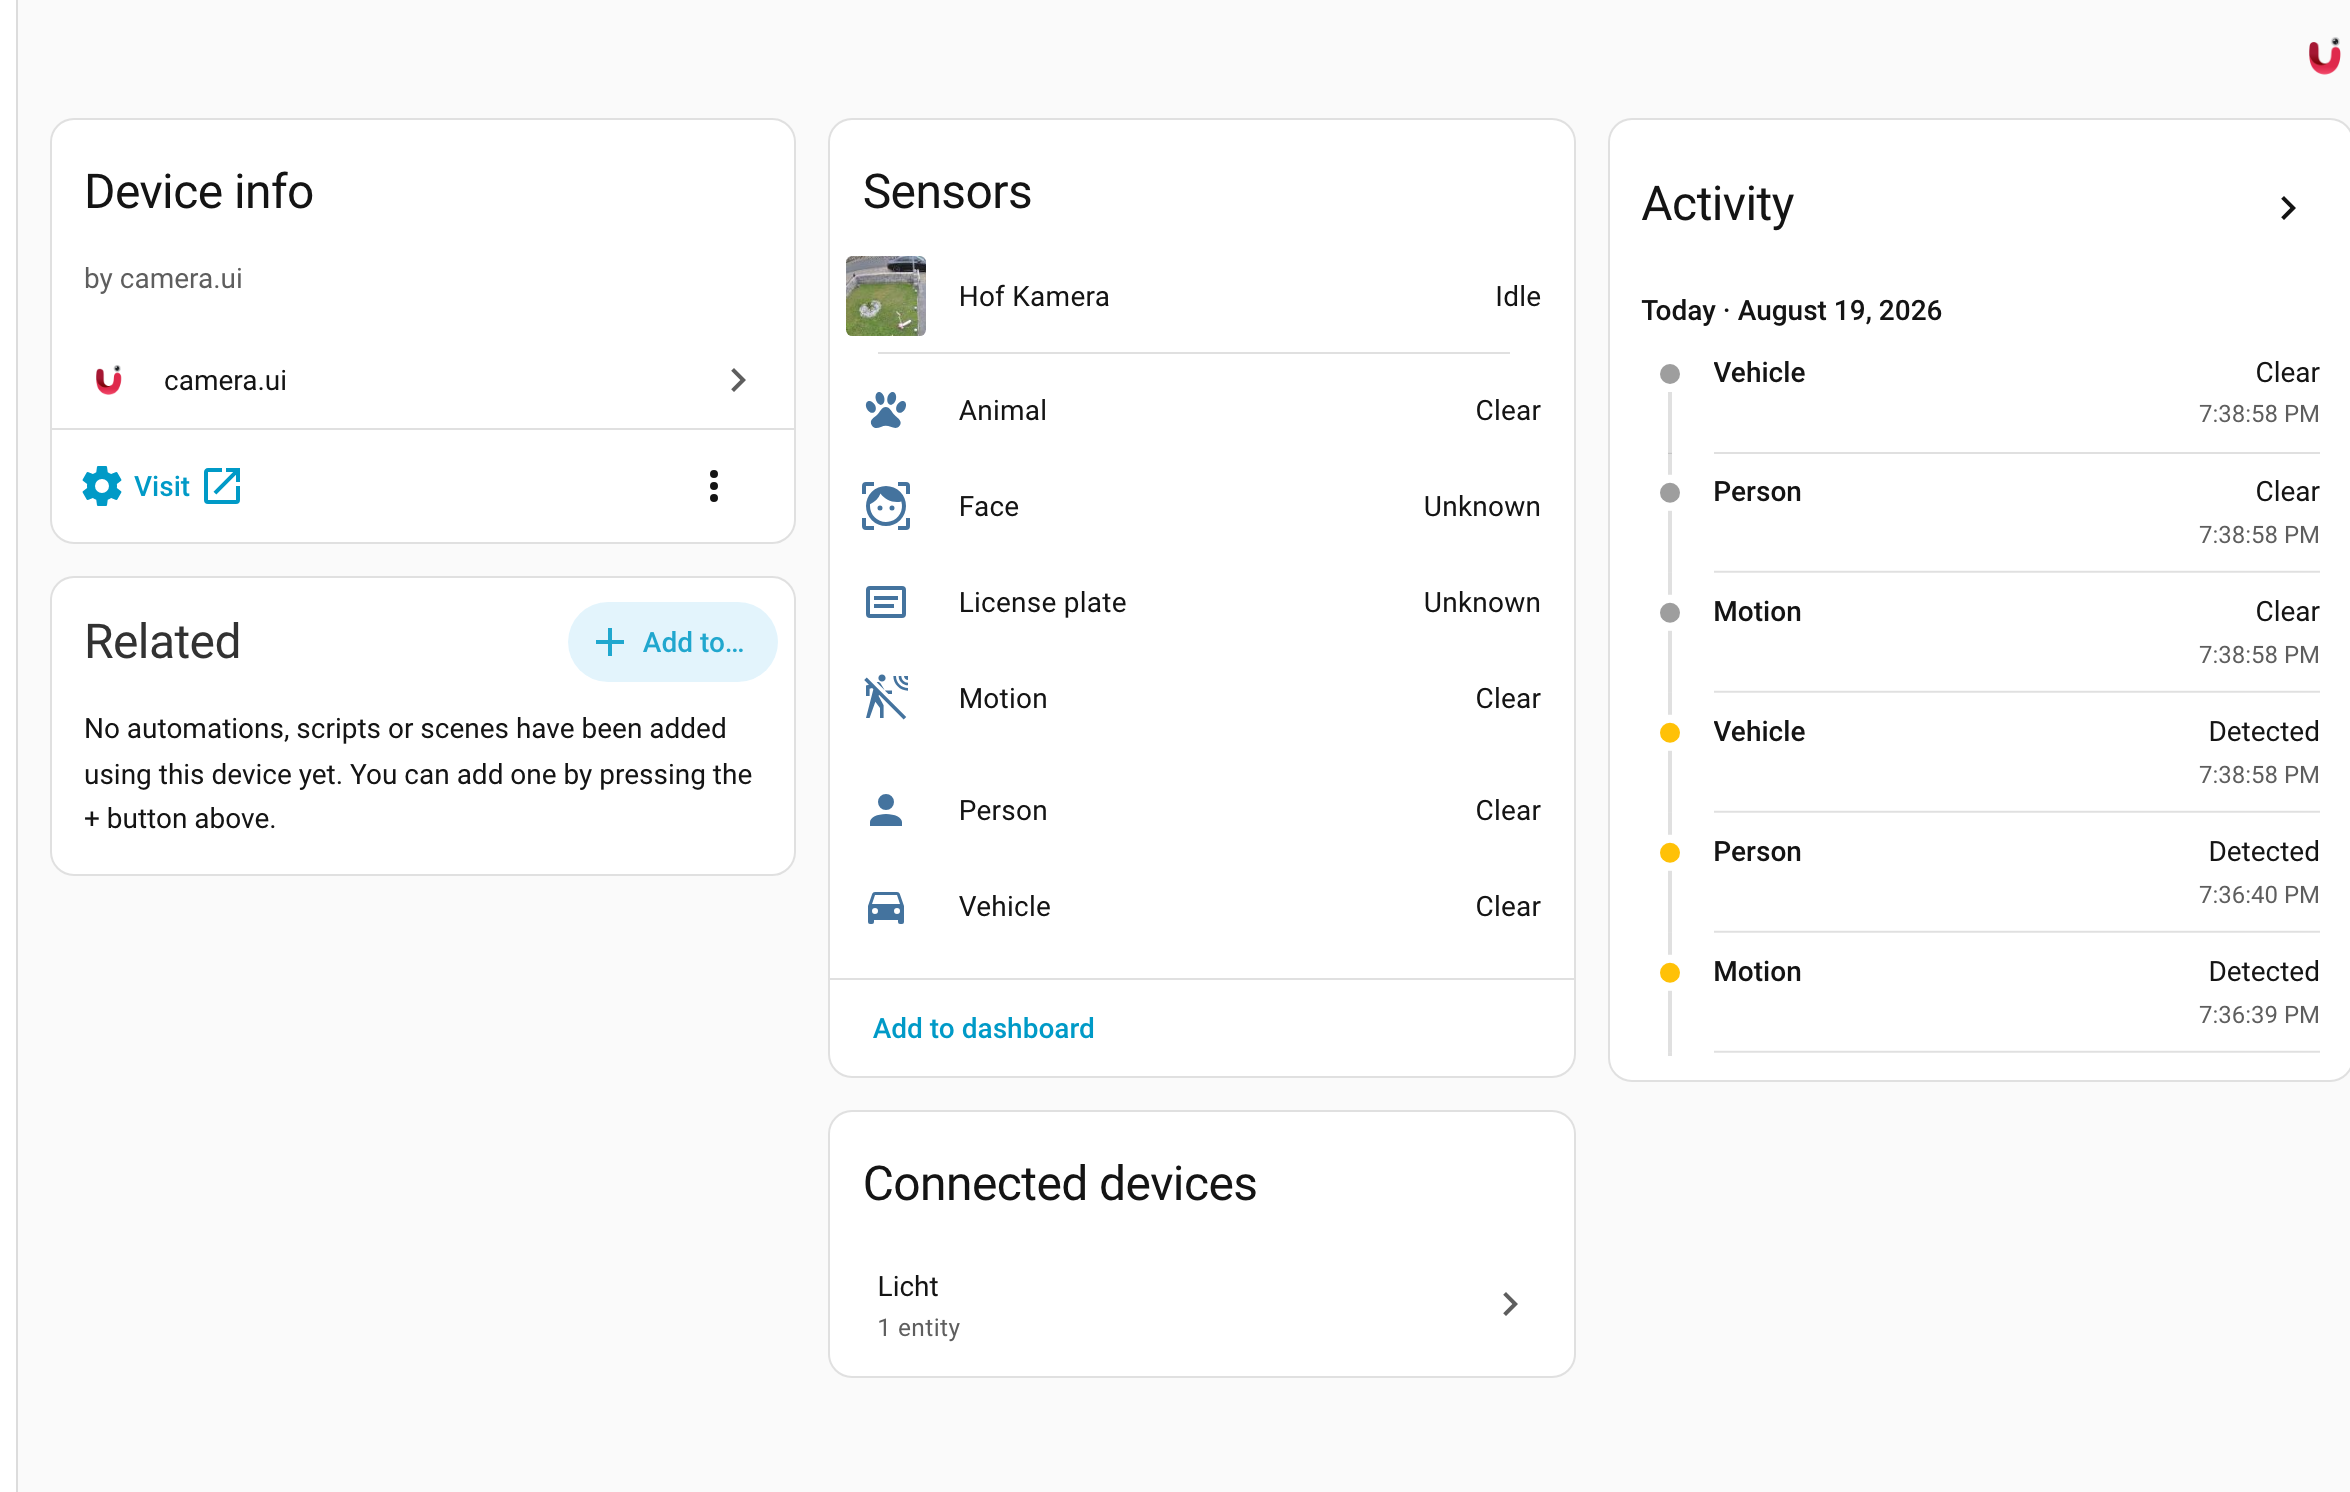
Each camera device carries a camera entity that streams live and serves snapshots. The device is labeled with the manufacturer camera.ui and links back to the server's web interface.
Sensors
Every exposed sensor in camera.ui is mirrored into Home Assistant on the matching platform, whether it belongs to a camera or not:
| camera.ui sensor | Home Assistant platform |
|---|---|
| Binary / contact | binary_sensor |
| Measurement | sensor |
| Switch | switch |
| Light | light |
| Siren | siren |
| Lock | lock |
| Cover | cover |
| Alarm system | alarm_control_panel |
Camera hardware (a camera's own spotlight, siren or battery) lands on the camera's device. Every other sensor becomes a device of its own, linked below its camera when it is assigned to exactly one. Whether a sensor comes across at all is the Expose sensor toggle on the Sensors page. Camera hardware has no toggle, it always follows its camera.
The controllable ones work both ways: a switch and a siren turn on and off, a light turns on and off (and dims, if it reports brightness), a cover opens and closes, a lock locks and unlocks, and an alarm panel arms home, away or night and disarms.
Adding, renaming, re-assigning, exposing or deleting a sensor in camera.ui updates the matching Home Assistant entity live, without a restart. A sensor whose plugin is offline shows as unavailable.
Motion and object detection
Every camera gets a motion binary sensor that turns on while a detection is active.
Cameras with object detection also get one binary sensor each for person, vehicle, animal and package. Each turns on while that object is in view and clears when the detection ends.[2]
Recognition sensors
Cameras with the matching detector get value sensors for face, license plate and classification. The sensor's value is the recognized labels, and the raw detections are available in its attributes.
Updates
Home Assistant also gets update entities for the camera.ui server and its plugins. Available updates show up in Home Assistant's updates list and install from there. The update dialog offers to create a backup first, which writes a camera.ui backup and stops the update if that fails. Turn Allow updates from Home Assistant off in the integration options to keep the updates visible without an install button.
PTZ
Pan, tilt and zoom is exposed as a service, cameraui.ptz, rather than as an entity. Target one or more camera entities and pick an action:
- continuous. Move at a set speed until stopped, using
pan,tiltandzoomas speeds. - stop. Stop a continuous move.
- move. Move by a relative step.
- absolute. Go to an absolute position.
- home. Return to the home position.
- preset. Recall a saved preset by name.
The pan, tilt and zoom fields run from -1 to 1. The preset action needs a preset name. If none of the targeted cameras has PTZ, the service reports an error.
action:
  - service: cameraui.ptz
    target:
      entity_id: camera.driveway
    data:
      action: preset
      preset: gate
Automations
Device triggers
Each camera device offers three triggers in the automation editor:
- Detection started. A detection began on the camera.
- Detection ended. The detection cleared.
- Object recognized. A face, plate or classification was recognized during a detection.
The event bus
The integration also fires a cameraui_event on the Home Assistant event bus, several times across one detection's lifecycle:
state | When |
|---|---|
start | A detection begins. |
object | A new object label appears during the detection. |
recognized | A face, plate or classification is recognized during the detection. |
end | The detection clears. |
Each event carries these fields:
| Field | Contents |
|---|---|
camera_id | The camera's id. |
camera_name | The camera's name. |
state | One of the values above. |
detection_types | The detection types involved. |
event_id | The id shared by all events of one detection. |
labels | Object labels seen. |
faces | Recognized faces. |
plates | Recognized license plates. |
classifications | Other recognized attributes. |
attributes | The full raw attribute list. |
Filter on state to act on a specific point in the lifecycle:
automation:
  - alias: Notify on recognized face
    trigger:
      - platform: event
        event_type: cameraui_event
        event_data:
          state: recognized
    action:
      - service: notify.mobile_app
        data:
          message: >-
            {{ trigger.event.data.faces | join(', ') }}
seen at {{ trigger.event.data.camera_name }}automation:
- alias: Turn on light when a person appears
trigger:
- platform: event
event_type: cameraui_event
event_data:
state: object
condition:
- "{{ 'person' in trigger.event.data.labels }}"
action:
- service: light.turn_on
target:
entity_id: light.drivewayThere is no device trigger for the object state, so use the event bus for that one.[3]
Sidebar panel
Setup adds a camera.ui entry to the Home Assistant sidebar that embeds the full camera.ui interface. The panel is admin only: it appears for administrator accounts and stays hidden for everyone else.
Dashboard cards
Three cards come with the integration and register themselves: a camera, a camview view, and a strip of recent events. See Dashboard cards for their options.
Card access
The integration's options decide who may use them: Administrators only, the default, or All Home Assistant users. The cards reach camera.ui through Home Assistant using the integration's own token, so opening them up hands every Home Assistant user what that token can see. Viewer token takes a second camera.ui token that is used for everyone who is not a Home Assistant administrator, which is how you point them at a restricted camera.ui account instead.
Recordings in the media browser
Events that have a recording appear in Home Assistant's Media browser under camera.ui: first the cameras, plus an All cameras entry, then the days, then the events themselves, each with a thumbnail and named by its time and what was detected. A click plays the clip, and it starts while the export is still running. Any entry can be sent to a TV or a speaker with media_player.play_media.
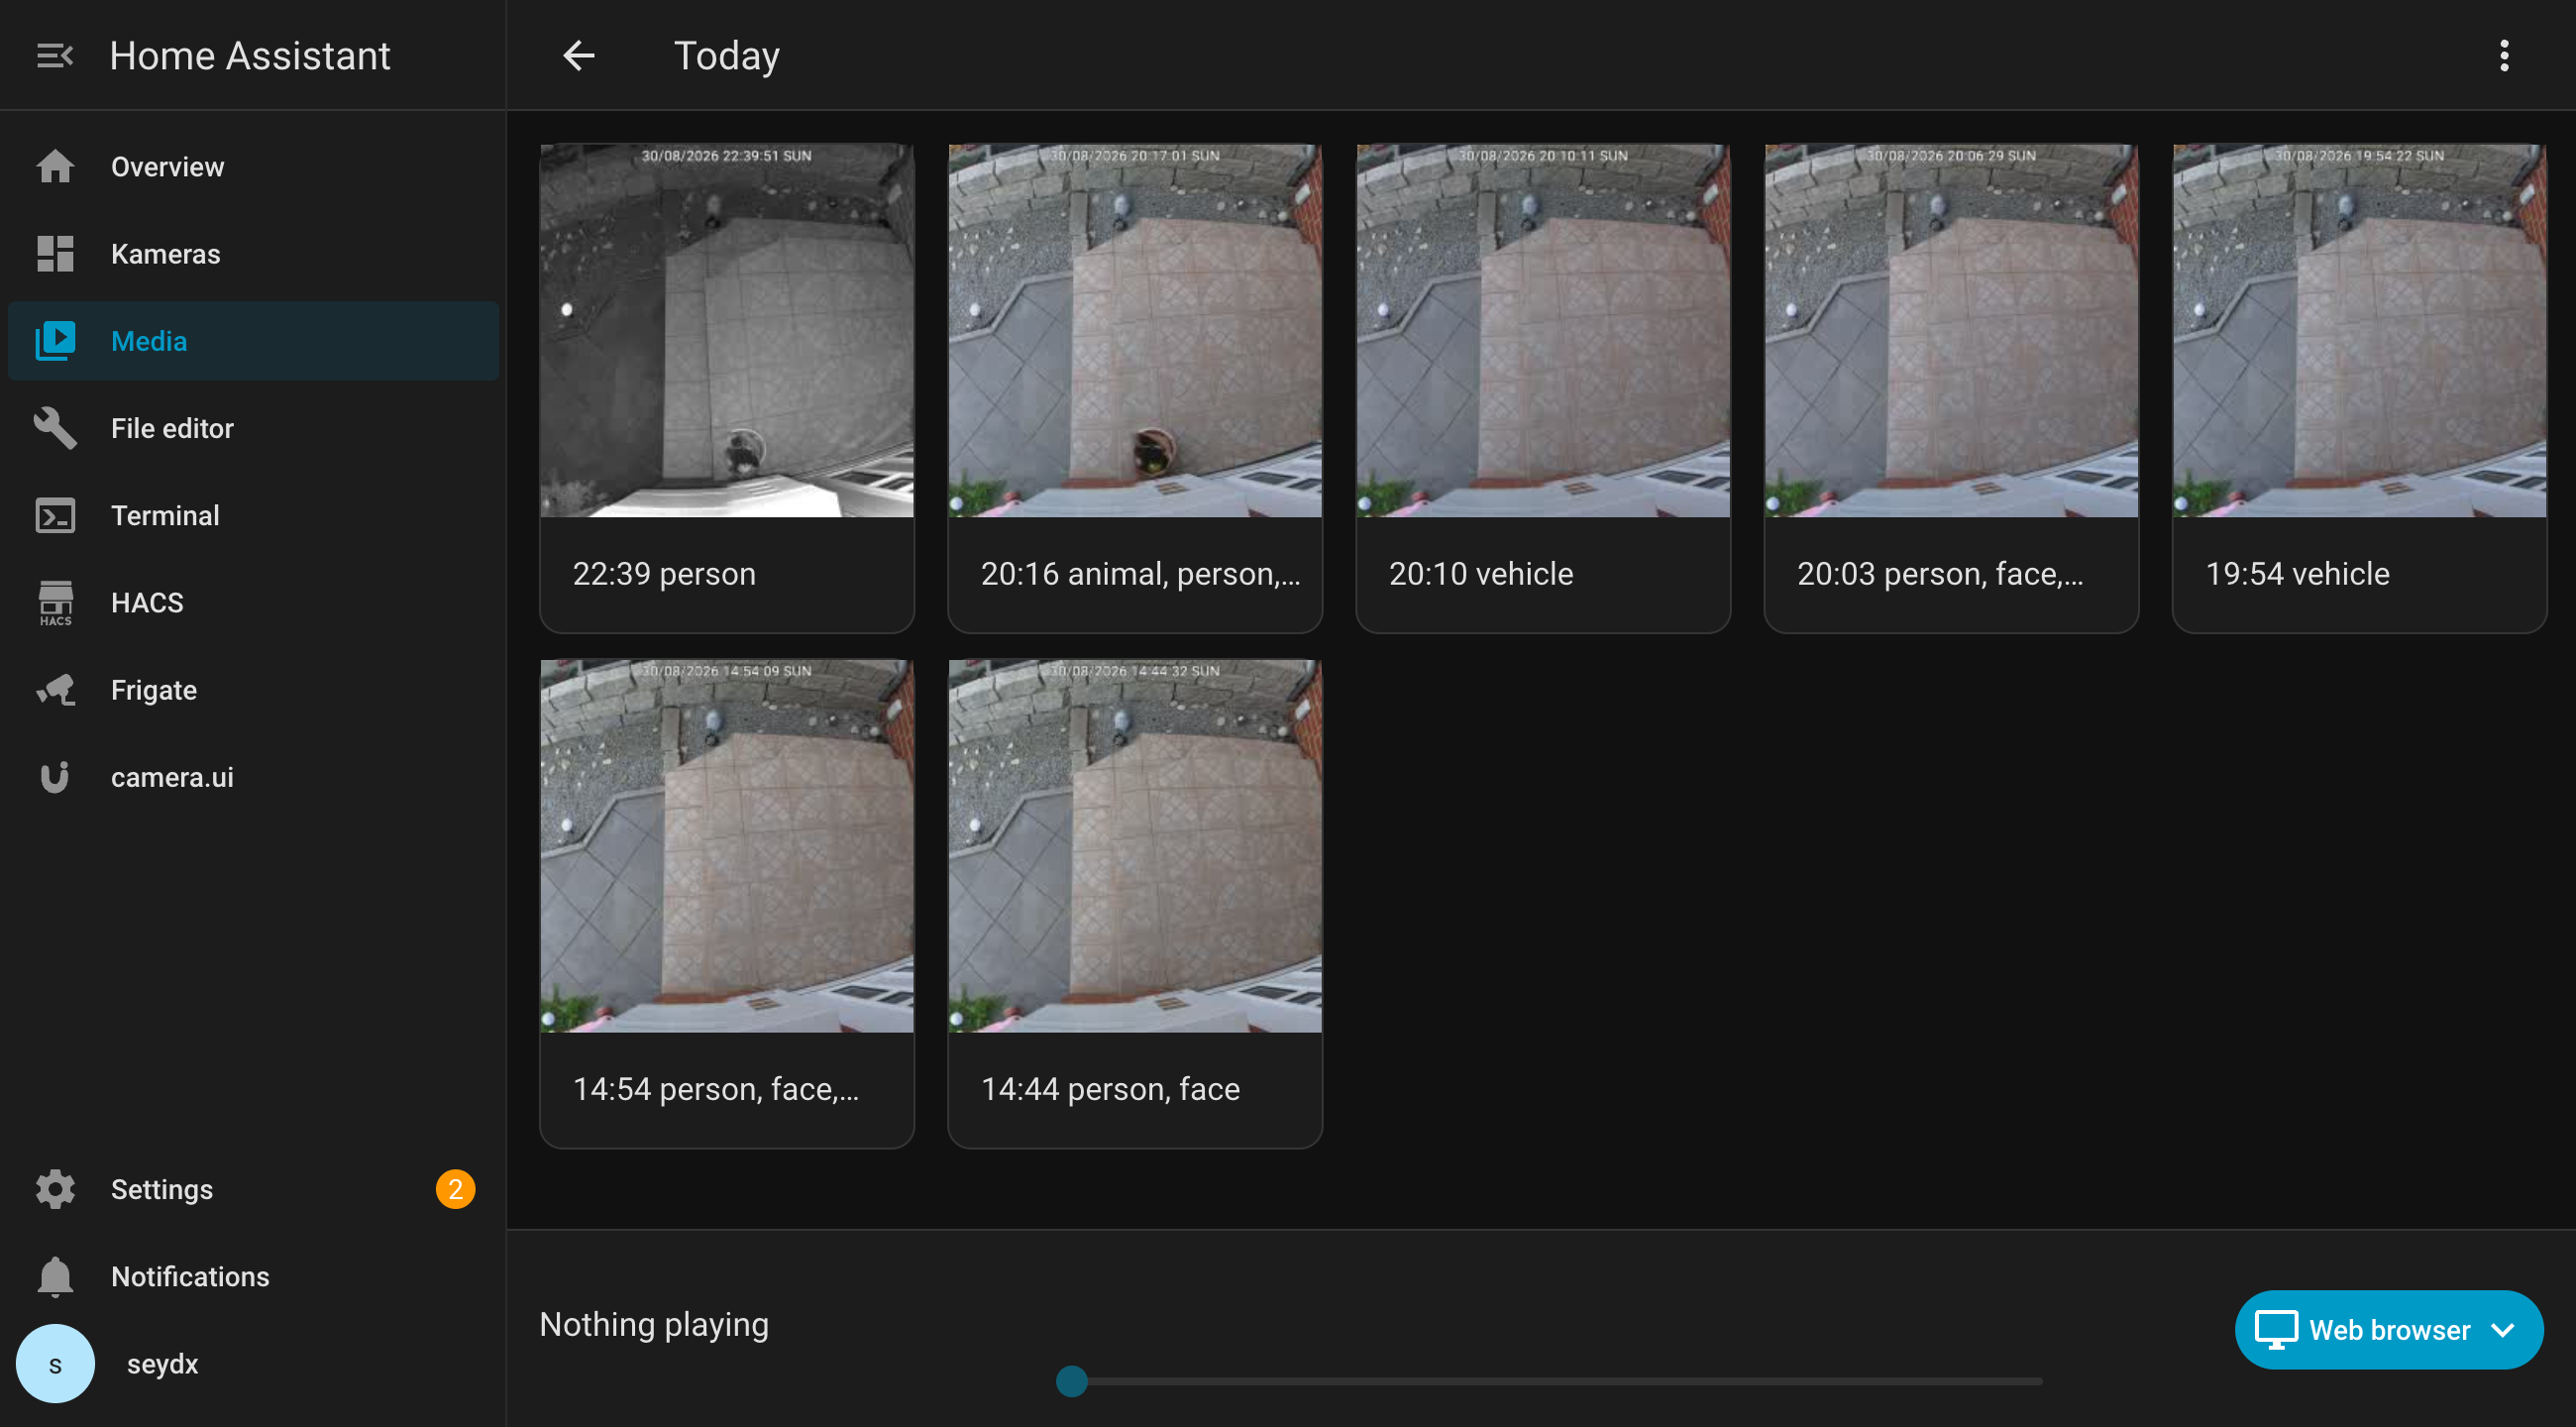
Clip quality in the options picks what those clips use: the sub stream, small and quick, or the main stream at full quality.
Next steps
- App — run camera.ui itself as a Home Assistant OS app.
- Dashboard cards — configure the cards on a dashboard.
- Sensors — assign sensors to a camera so they reach Home Assistant.
The server is reached over HTTPS. The integration does not verify the certificate, so a self-signed camera.ui certificate works without extra setup. ↩︎
Motion and object binary sensors are registered with the
motiondevice class, so they present in Home Assistant as motion sensors rather than as a per-object class. ↩︎The three device triggers map to
start,endandrecognized. To react to a specific object label appearing mid-detection, listen forcameraui_eventwithstate: objectas shown above. ↩︎